1) What you’ll need (quick preflight)
- Old laptop with Windows 10 or Windows 11 (64-bit), wired or Wi-Fi.
- Media folders ready (e.g.,
D:\Media\Movies,D:\Media\TV, etc.). - (Optional) A GPU/IGPU if you want hardware-accelerated transcoding.
- Local admin rights on the machine.
Tip: Keep the laptop from sleeping while plugged in (so the server stays up).
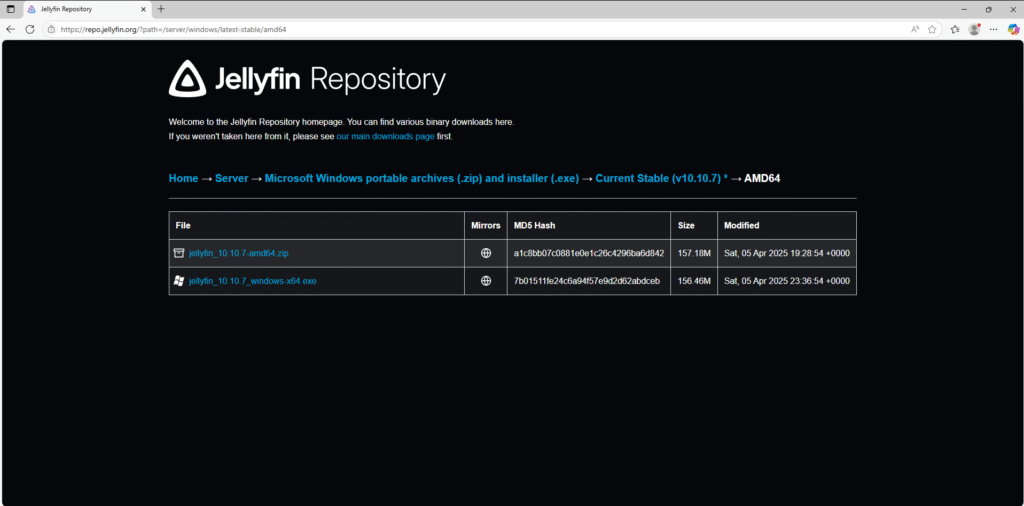
2) Download Jellyfin for Windows
- Go to the official Jellyfin Windows download page and grab the Windows installer (
.exe).
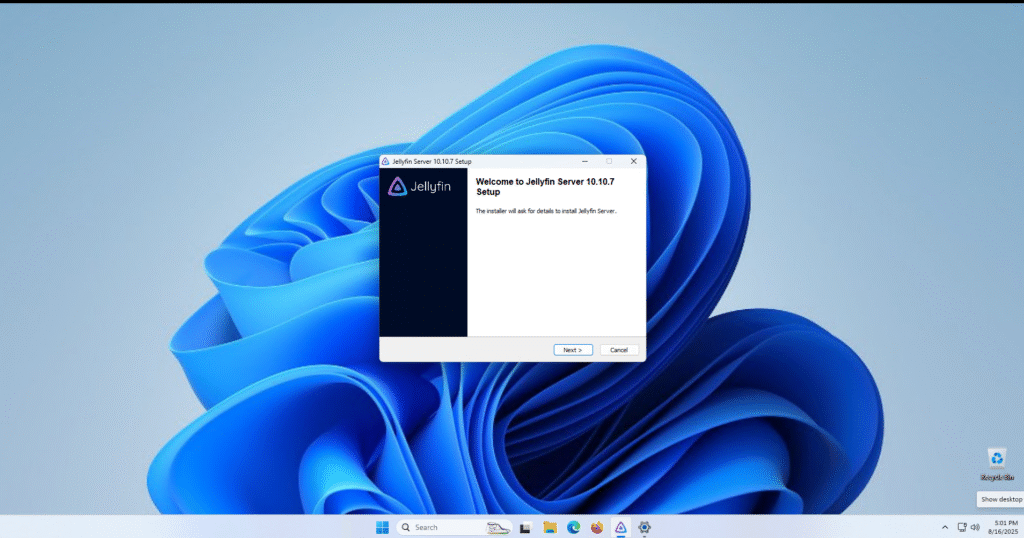
3) Run the installer (tray app recommended)
- Double-click the installer and walk through the prompts.
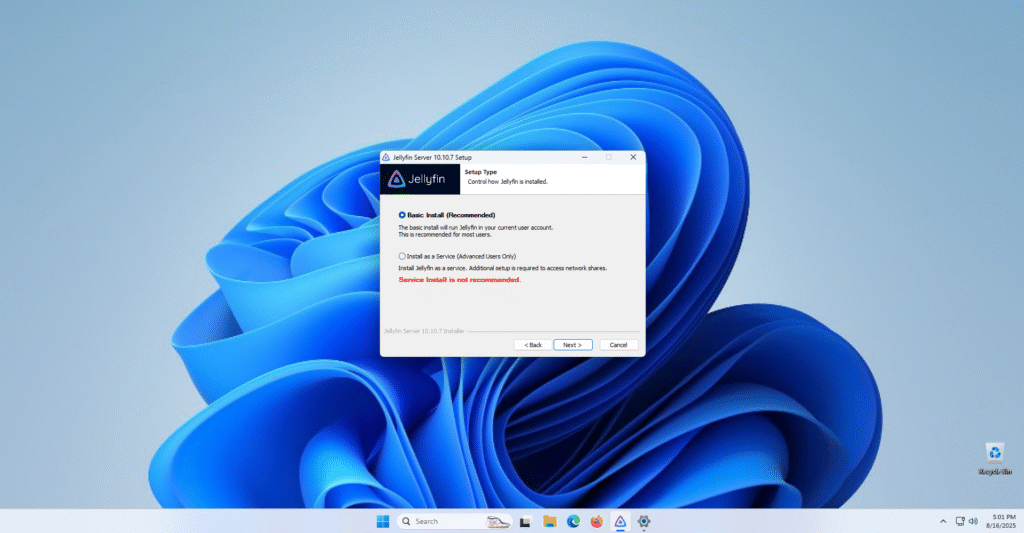
- Install mode: leave default (tray app). The Windows docs note that installing as a service is not recommended for typical setups; only use it if you truly need it to run before login.
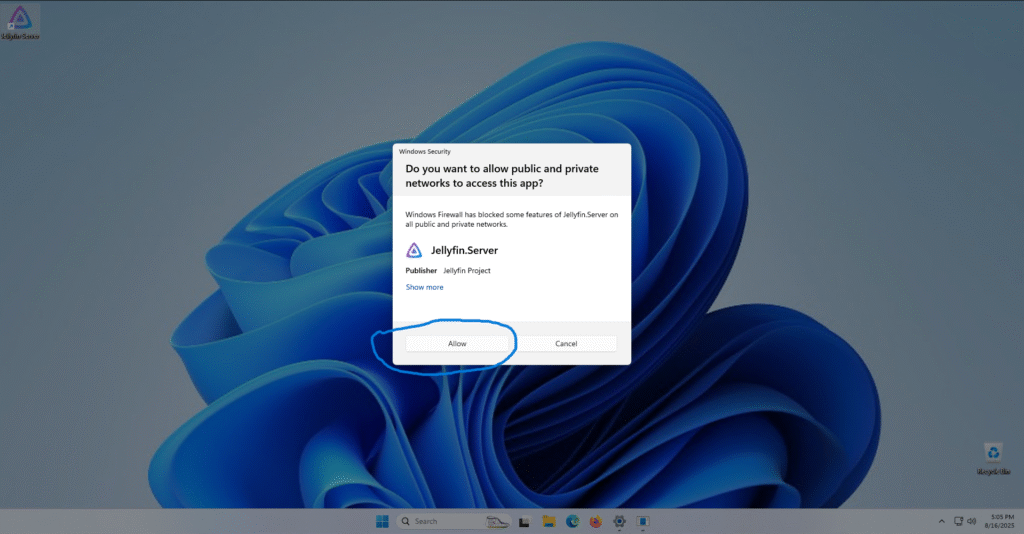
- When Windows asks about Firewall access, allow Jellyfin on Private networks. Double click the Jellyfin desktop Icon after Install.


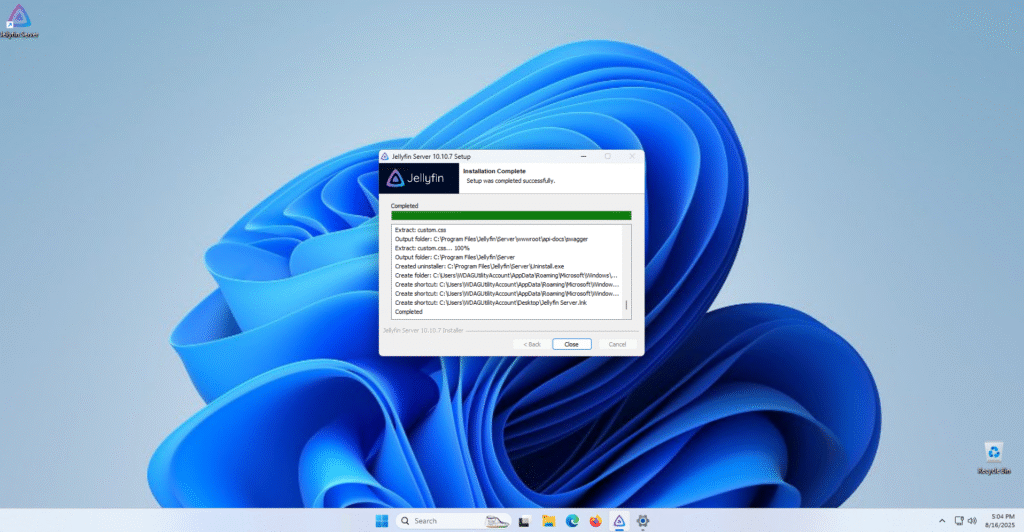
- Once the Installer is finished, Double-click the Jellyfin Server Icon
- Click Allow. This will create a firewall exception so that you can access your Jellyfin server on the network.
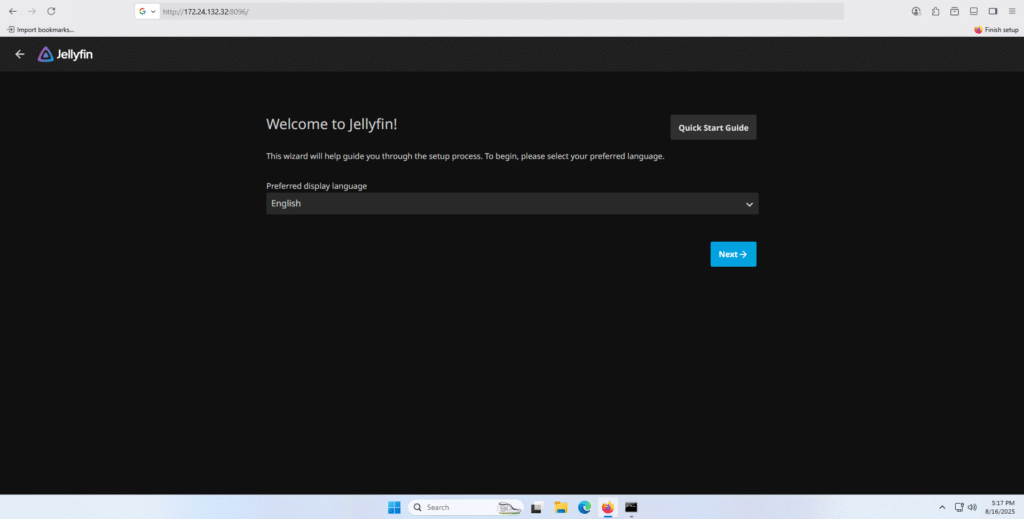
4.) First launch & setup wizard
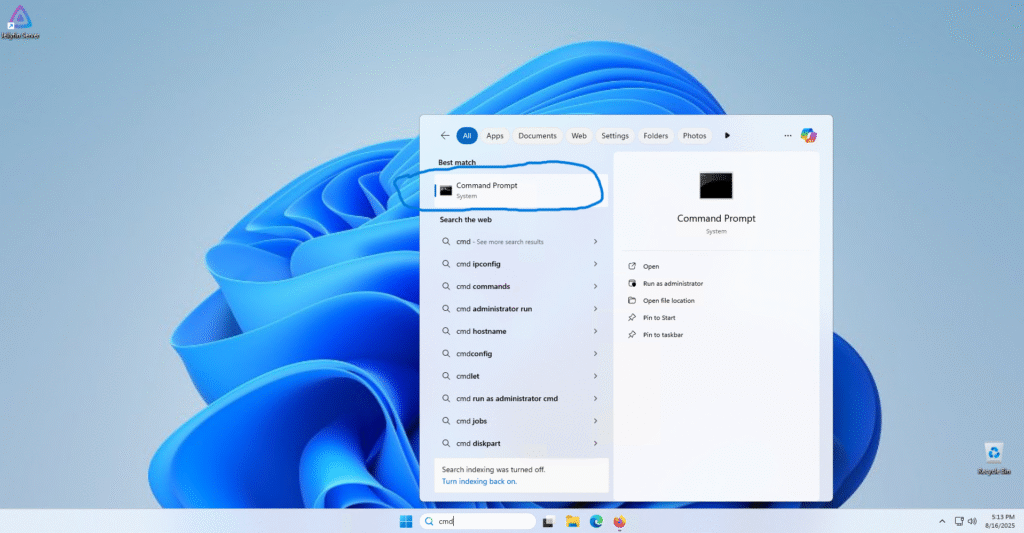
- To Find Your Jellyfin Server Address free on Windows. OPEN COMMAND PROMPT!
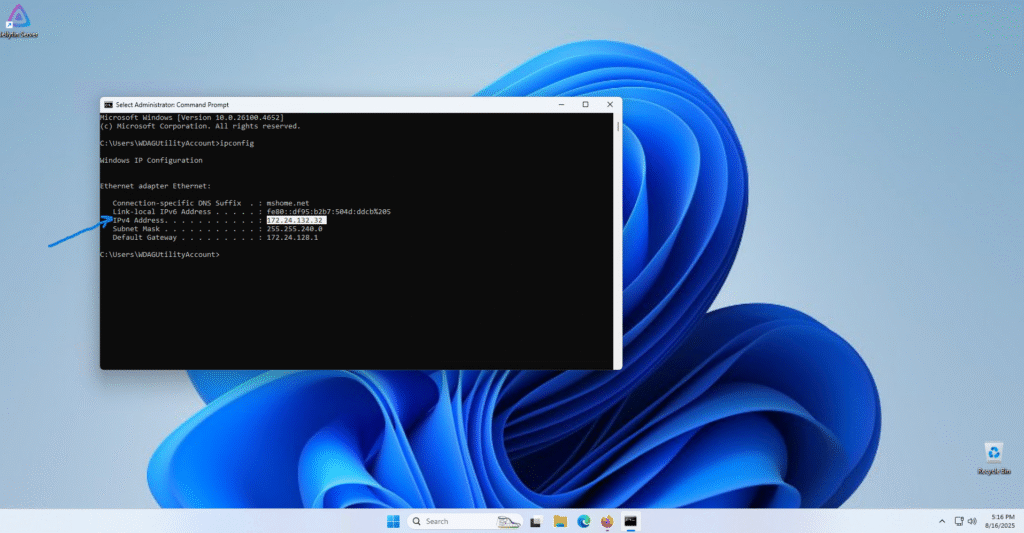
- Copy your Local IP address. Note: Yours will be something like 192.168.x.x
- Open Your Internet Browser
- Type http://your_local_IP:8096 using your IP address from above.
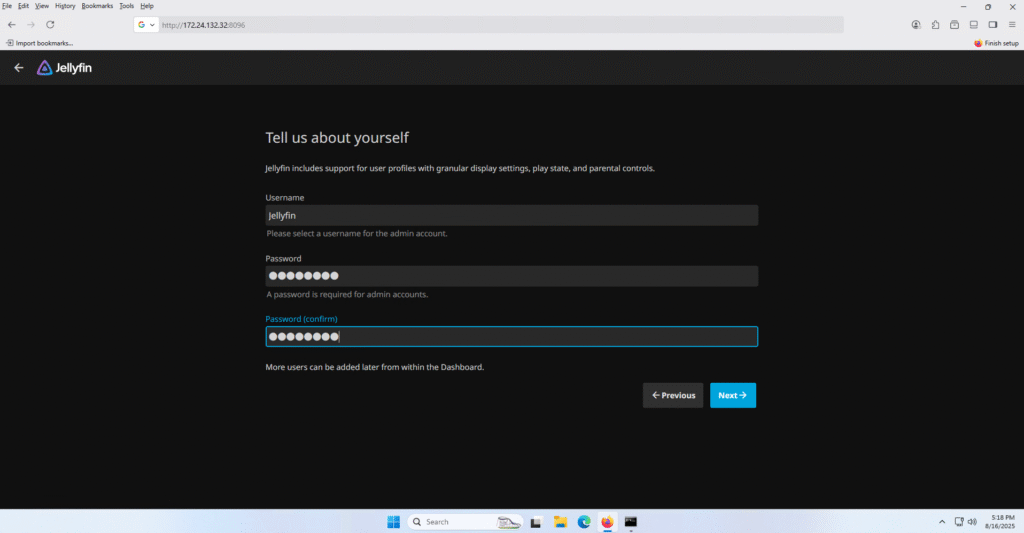
- Create a Username and Password. This is your Admin Account for the Jellyfin Server.
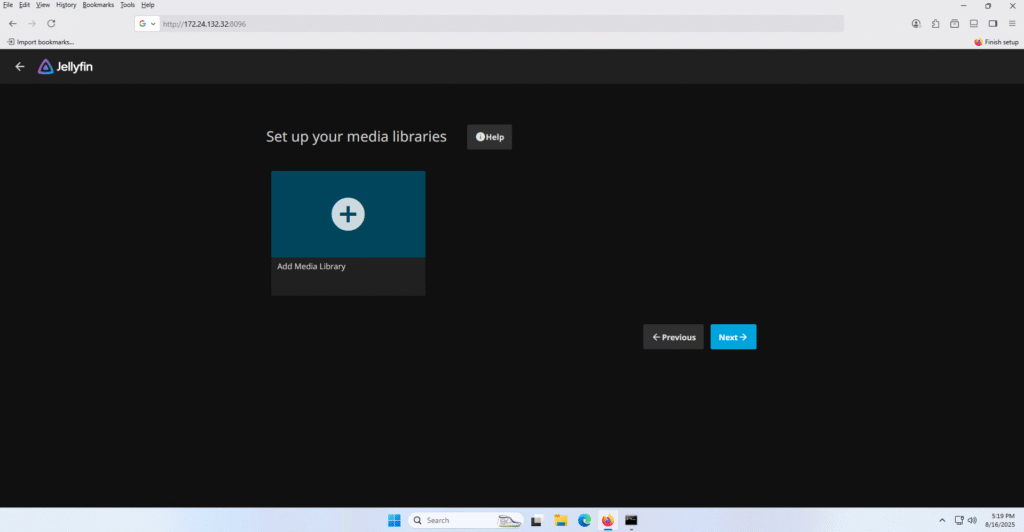
- Now we are going to add media to the Jellyfin server. Click Add media and choose the location of your media. For this tutorial I just used the Videos Folder on Windows.
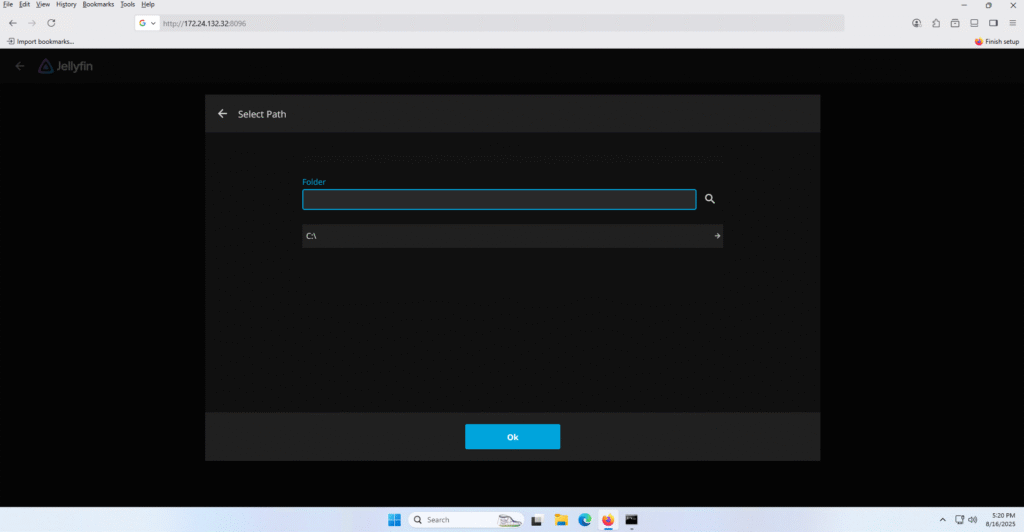
- Now it is important to select the correct content type. With that in mind you should keep Movies in a separate folder from your TV Shows. This will help with Jellyfin properly categorize your content and find appropriate metadata.
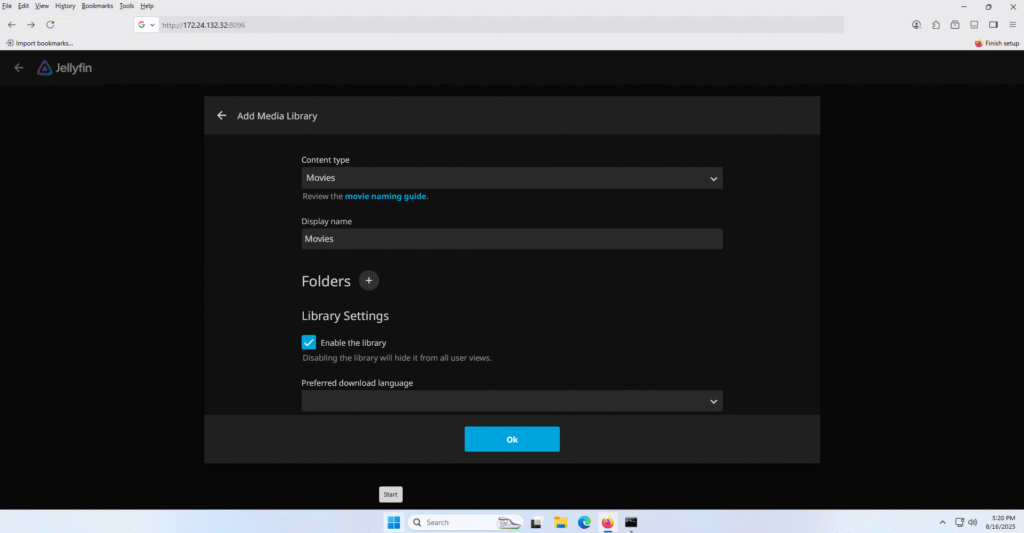
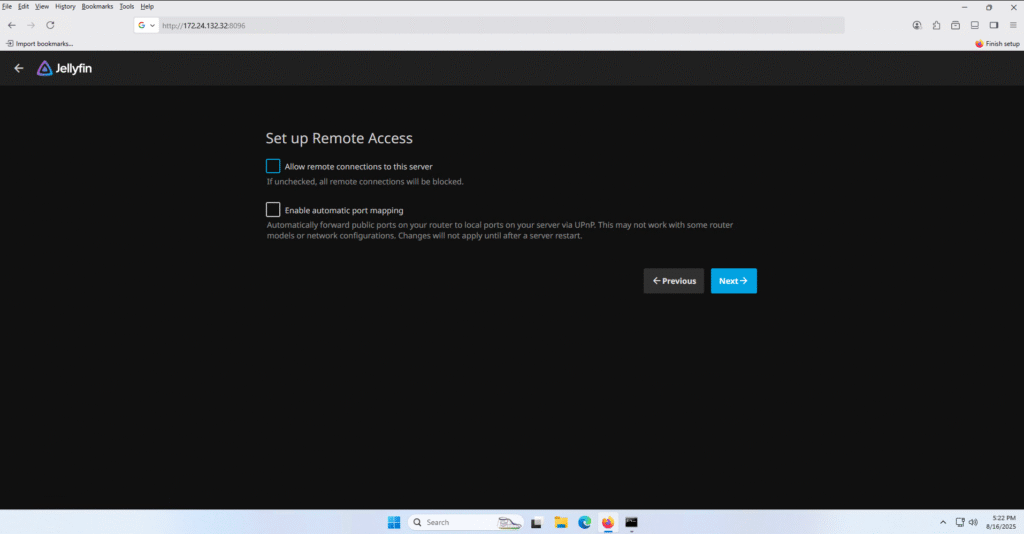
- Then Disable remote access.
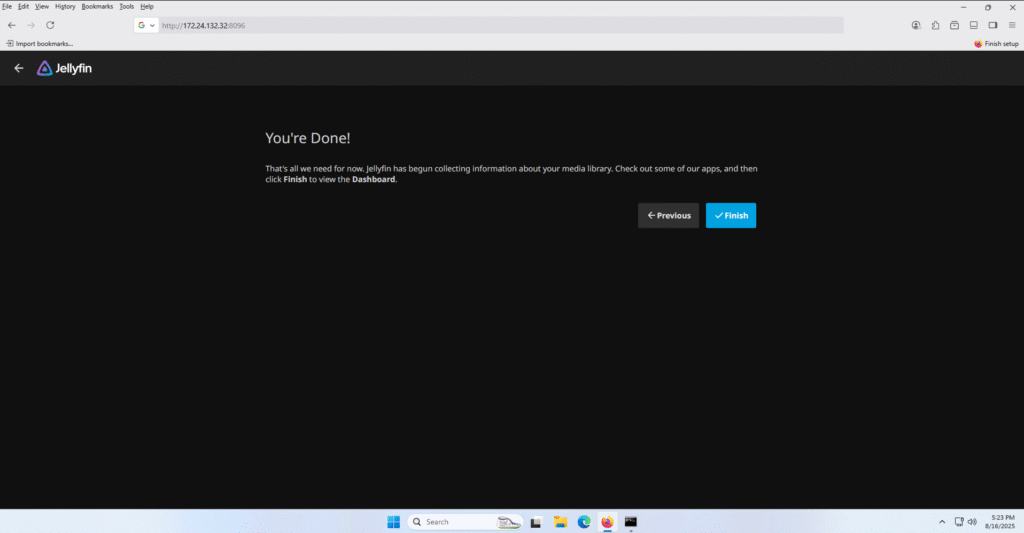
Click Finish!!!
5) Adding User(s)
- Lets create a regular user account. You can create an individual account for each person in your house.
- Click the Hamburger Menu and Click Dashboard.

- Click Users and then click the Plus Symbol +
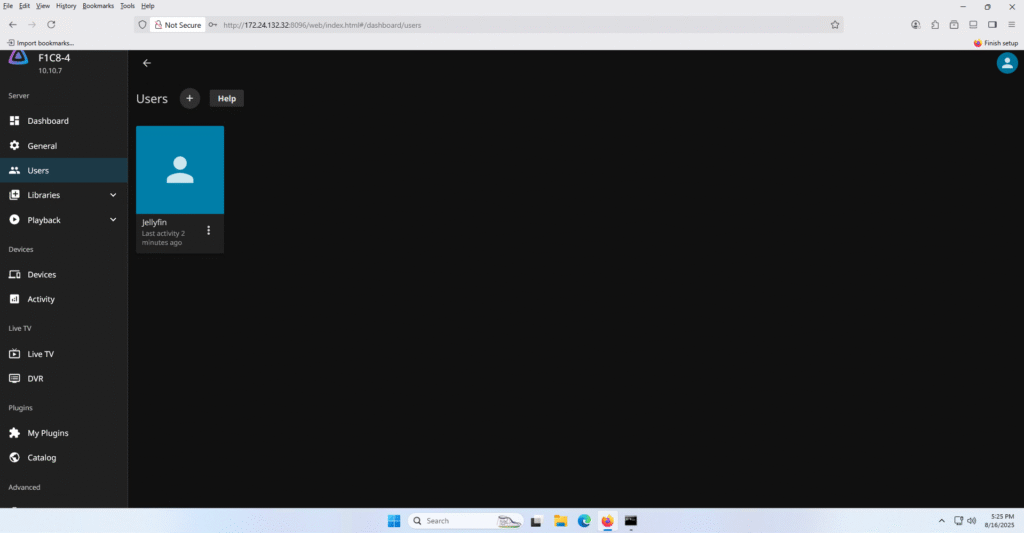
- Create a username and password and enable all Libraries.

6) Access Jellyfin on your devices and Smart TV.
- With your Jellyfin server up and running you can now access you content on other devices on the network.
1) On a Smart TV (Android TV / Google TV / Fire TV)
- Open the app store on your TV (Google Play Store on Android TV / Google TV, or Amazon Appstore on Fire TV).
- Search for “Jellyfin”.
- Install the Jellyfin for Android TV app.
- Launch the app and enter your server address:
- Local network:
http://<server-ip>:8096 - If you set up remote access:
https://yourdomain.com
- Local network:
- Log in with your Jellyfin username and password.
- Start browsing your libraries and streaming.
2) On a Tablet or Phone (Android / iOS)
- Open the Google Play Store (Android) or App Store (iOS).
- Search for “Jellyfin”.
- Download and install the Jellyfin app.
- Open the app → Tap Add Server.
- Enter your server’s address:
- Local:
http://<server-ip>:8096 - Remote (if configured):
https://yourdomain.com
- Local:
- Log in with your Jellyfin account.
- Tap on your libraries to start streaming.
3) Alternative: Use a Web Browser
If your device doesn’t support the app:
- Open a browser (Chrome, Safari, Edge, etc.).
- Go to:
http://<server-ip>:8096. - Sign in and stream directly.
Wrap-up
Congratulations you have setup your Jellyfin server. I hope this guide helped.