If you’re tired of the limitations of streaming services and want to create your own media library, Jellyfin is an excellent choice. This open-source media server lets you host and stream your personal media collection on various devices. This guide will walk you through downloading and setting up Jellyfin, as well as installing the Jellyfin app on your phone and TV for easy access.
Step 1: Download and Install Jellyfin Media Server
1. Choose Your Server Platform
Jellyfin is compatible with a variety of operating systems. Select the version appropriate for your setup:
- Windows: Ideal for users who prefer a graphical installer.
- macOS: For those using Apple hardware.
- Linux: If you’re comfortable with command-line operations or using a server OS.
- Docker: For those who want to run Jellyfin in a containerized environment.
2. Download Jellyfin
Go to the Jellyfin Downloads page and choose the version suitable for your operating system.
For Windows:
- Download the
.exeinstaller. - Run the installer and follow the on-screen instructions to complete the installation.
For macOS:
- Download the
.dmgfile. - Open the
.dmgfile and drag the Jellyfin application into the Applications folder.
For Linux:
- Follow the installation instructions specific to your distribution, which are available on the Jellyfin GitHub page.
For Docker:
- Ensure Docker is installed on your system.
- Use the command:
docker run -d --name jellyfin -p 8096:8096 jellyfin/jellyfin
Step 2: Set Up Your Jellyfin Media Server
1. Initial Setup
- Open your web browser and go to
http://localhost:8096(or the IP address of your server if it’s remote). - Follow the setup wizard:
- Language and Region: Choose your preferred settings.
- Admin Account: Create an administrator account with a username and password.
- Media Libraries: Specify the folders where your media files (movies, TV shows, music) are stored. You can add multiple libraries and organize them by type.
2. Configure Server Settings
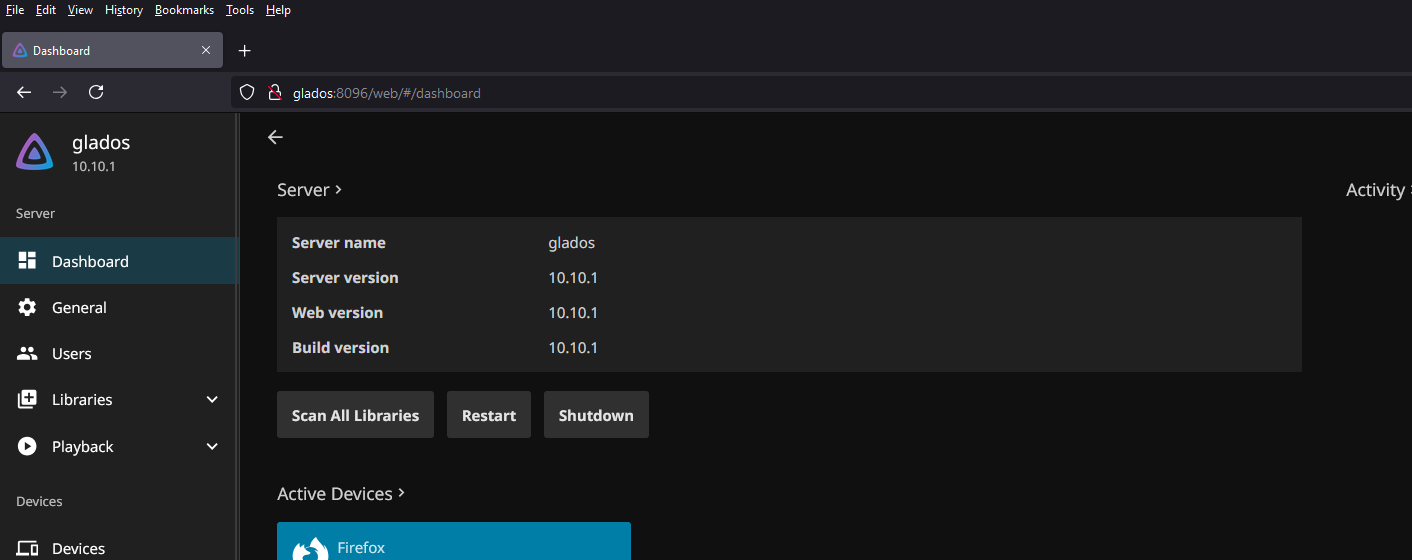
- Go to the Jellyfin dashboard by logging in with your admin account.
- Navigate to the Dashboard and then Server to configure additional settings:
- Networking: Set up remote access if you want to stream media from outside your home network.
- Metadata: Customize how Jellyfin fetches and displays metadata for your media.
- Playback: Adjust settings for video and audio playback according to your preferences.
Step 3: Install Jellyfin App on Your Phone
For iOS:
- Open the App Store on your iPhone or iPad.
- Search for “Jellyfin”.
- Download and install the Jellyfin app.
- Open the app and enter the IP address and port of your Jellyfin server (e.g.,
http://192.168.1.100:8096). - Log in with your Jellyfin account credentials.
For Android:
- Open the Google Play Store on your Android device.
- Search for “Jellyfin”.
- Download and install the Jellyfin app.
- Open the app and enter the IP address and port of your Jellyfin server (e.g.,
http://192.168.1.100:8096). - Log in with your Jellyfin account credentials.
Step 4: Install Jellyfin App on Your TV
For Smart TVs with Android TV:
- Open the Google Play Store on your Android TV.
- Search for “Jellyfin”.
- Download and install the Jellyfin app.
- Open the app and enter the IP address and port of your Jellyfin server (e.g.,
http://192.168.1.100:8096). - Log in with your Jellyfin account credentials.
For Apple TV:
- Unfortunately, Jellyfin does not have an official app for Apple TV. However, you can use AirPlay to stream from your iOS device to Apple TV.
- Ensure your iOS device and Apple TV are on the same network.
- Open the Jellyfin app on your iOS device and select the content you want to stream.
- Tap the AirPlay icon and choose your Apple TV.
For Other Smart TVs:
- Check if your TV has a built-in web browser.
- Open the browser and navigate to your Jellyfin server’s web interface (
http://192.168.1.100:8096). - Log in to access your media library directly from the TV’s browser.
Step 5: Enjoy Your Media
With Jellyfin set up on your server and the app installed on your devices, you’re ready to enjoy your personalized media library. Explore your collection, create playlists, and stream your content seamlessly across your home network.
Conclusion
Building and setting up a Jellyfin media server allows you to take control of your media consumption, providing an ad-free and personalized experience. By following these steps, you can easily transition from streaming services to a self-hosted solution that fits your needs and preferences. Enjoy the freedom and flexibility of your Jellyfin media server, and savor the satisfaction of having your media library at your fingertips.

