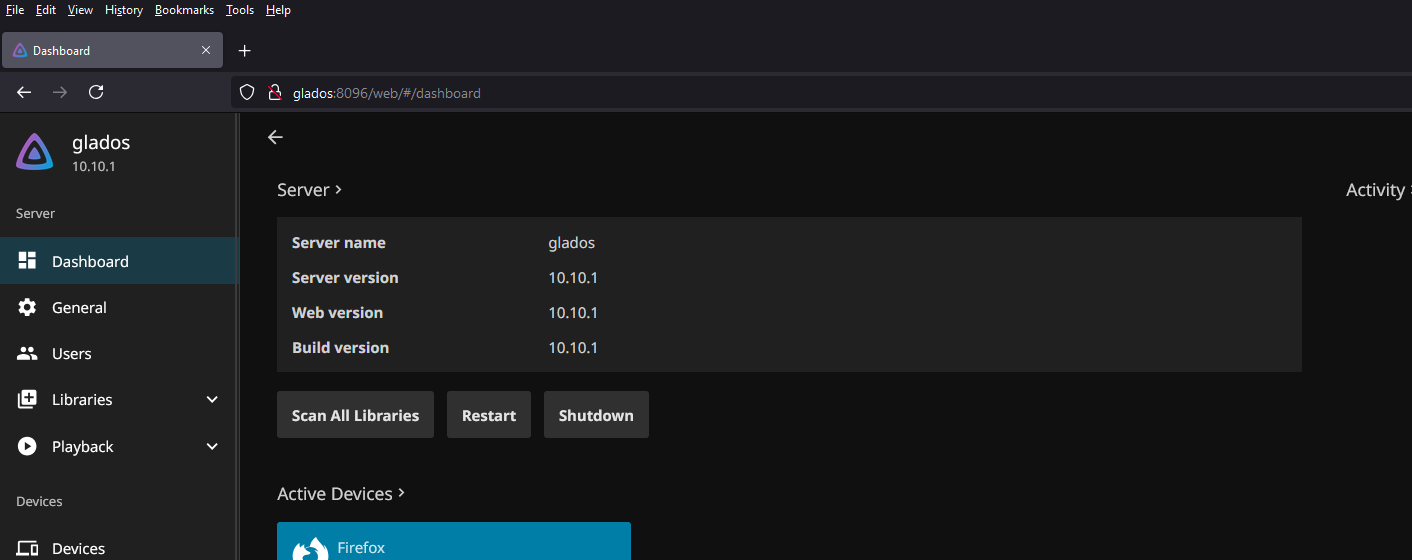
If you’re looking for a budget-friendly way to set up a media server for streaming your movies, TV shows, music, and more, Jellyfin is a great open-source alternative to paid solutions like Plex and Emby. Jellyfin offers powerful features without the subscription fees, and with the right hardware, you can create a cheap Jellyfin server that meets your needs for media streaming.
In this tutorial, we’ll walk through the steps to build a cheap Jellyfin server using affordable hardware options. We’ll also link to some places where you can buy the necessary components on a budget, like Amazon, eBay, and Newegg.
What You’ll Need for a Cheap Jellyfin Server
A basic Jellyfin server setup requires the following components:
- CPU: For processing media files.
- RAM: Jellyfin itself doesn’t need a lot of RAM, but you’ll need enough to run the server smoothly.
- Storage: A hard drive (HDD or SSD) to store your media.
- Network: An Ethernet cable or Wi-Fi card (Ethernet is preferred for streaming).
- Power Supply & Case: A power supply and a case to house your components.
- Operating System: Jellyfin can run on various OSs, but we recommend Linux or Windows.
Let’s dive into the specifics of each component and where you can buy them affordably.
Step 1: Choosing a CPU for Your Jellyfin Server
For a cheap Jellyfin server, you don’t need a high-end CPU. Even budget CPUs like an Intel Celeron or AMD Ryzen 3 can handle transcoding media for a few users. If you’re only serving media to devices that can handle direct play (e.g., smart TVs or streaming boxes), you don’t need as much processing power.
Recommended CPUs:
- Intel Celeron G4900
- AMD Ryzen 3 3200G
- Intel Core i3-10100 (for a slight performance bump)
Where to Buy:
Step 2: Choosing RAM for Your Cheap Jellyfin Server
Jellyfin is lightweight, but you’ll want enough RAM to prevent slowdowns when running multiple tasks or streaming to multiple devices. For a budget setup, 4GB to 8GB of RAM should be plenty. You can upgrade to 16GB later if you want to run additional services on the server.
Recommended RAM:
- Corsair Vengeance LPX 4GB DDR4
- G.SKILL Ripjaws V 8GB DDR4
Where to Buy:
- Corsair Vengeance LPX 4GB DDR4 on Amazon
- G.SKILL Ripjaws V 8GB DDR4 on eBay
- Corsair Vengeance LPX 8GB DDR4 on Newegg
Step 3: Choosing Storage for Your Jellyfin Server
Your storage choice depends on how much media you plan to store. HDDs offer a more affordable per-GB cost, but SSDs are faster and more reliable.
For a budget Jellyfin server:
- 1TB HDD is a good starting point for storing movies and shows.
- If you want faster performance and a smaller library, consider a 250GB or 500GB SSD.
Recommended Storage:
- Seagate Barracuda 1TB HDD
- Western Digital Blue 500GB SSD
Where to Buy:
- Seagate Barracuda 1TB HDD on Amazon
- Western Digital Blue 500GB SSD on eBay
- Seagate Barracuda 1TB HDD on Newegg
Step 4: Choosing a Power Supply and Case
For a budget-friendly build, you don’t need anything fancy for the case and power supply. You can pick up a cheap ATX case with a built-in power supply, which will provide enough wattage for your server. Ensure your case has good airflow for cooling.
Recommended Case and PSU Combo:
- Cooler Master MasterBox Q300L
- Thermaltake Versa H15
Where to Buy:
- Cooler Master MasterBox Q300L on Amazon
- Thermaltake Versa H15 on eBay
- Cooler Master MasterBox Q300L on Newegg
Step 5: Setting Up Your Operating System
You can run Jellyfin on Windows or Linux. Linux is typically lighter and more efficient for servers, and you can even run it on old hardware. If you’re new to Linux, Ubuntu Server is a great choice.
- Windows 10/11: Free if you already have a license, but can be heavier.
- Ubuntu Server: Free and lighter on resources.
Step 6: Installing Jellyfin
- Install the Operating System: Set up your OS according to your choice.
- Download and Install Jellyfin: Head to Jellyfin’s official download page and follow the instructions for your operating system.
- Configure Jellyfin: Once installed, go to
http://localhost:8096to access the Jellyfin setup interface and start adding your media libraries.
Final Tips for a Cheap Jellyfin Server
- Network Connection: For the best streaming experience, use a wired Ethernet connection instead of Wi-Fi.
- Transcoding: If you need to transcode media for playback on various devices, a more powerful CPU or a dedicated GPU (e.g., NVIDIA GTX 1050 Ti) will help. However, for most users, Jellyfin can handle direct streaming to compatible devices without needing heavy transcoding.
- External Drives: If you run out of storage space, you can always add an external drive to your server.
Conclusion
Building a cheap Jellyfin server doesn’t have to break the bank. By selecting affordable components like budget CPUs, low-cost RAM, and storage, you can have a home media server up and running in no time. Whether you choose to buy parts from Amazon, eBay, or Newegg, there are plenty of options to fit your budget.
By following these steps, you’ll have a powerful, cost-effective Jellyfin server that will let you stream all your favorite media without the ongoing costs of subscription services.
Links to Equipment:
- Amazon: Cheap Jellyfin Server Hardware on Amazon
- eBay: Cheap Jellyfin Server Parts on eBay
- Newegg: Affordable Jellyfin Server Parts on Newegg
Happy streaming!

